Before starting this tutorial – In straight words, you need to understand that this is not any coding, but this a simple way to harness google and get the desired results.
Before beginning here is the filesonic search engine which will be made after completing my tutorial. You can use it now and test yourself.
How it striked my mind to create this
Their are many files searching sites across the internet where files ares stored by users and where they can share it with others via links generated for example rapidshare.com, hotfile.com, megaupload.com, fileserve.com, filesonic.com and many more. So to see the complete site content you can add (site:abc.com) in google for searching the total links indexed. When you use this technique, you will see rapidshare, fileserve and megaupload will only show site pages and their is no separate indexing for each files. But in case of Filesonic, its not the same. You can search each and every files because they are will indexed by search engine giant Google. So what you need to do, you go to google and search by adding site:filesonic.com and file name
Create your own Filesonic custom search engine
Or create your own custom search engine by using all sites at once like filesonic.com and filesonic.in. SO here is the simple method, that many adsense user already know it. Go to google adsense and create adsense for search or visit www.google.com/cse/ to make one. We are here using adsense for search.
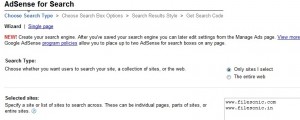
Start with selecting adsense for search, choose the site which you need to search, In this case filesonic.com and filesonic.in
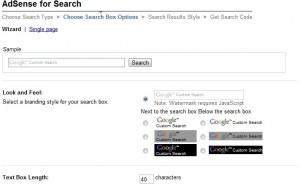
Choose the logo and choose the design and settings for your search engine from the next page

In this page you need to select the length of search box

AT last just name you searchengine and get the snippet which you can use on any of the site you want to keep this filesonic search engine.
Enjoy your search.

